> ## Documentation Index
> Fetch the complete documentation index at: https://qitor.mintlify.site/llms.txt
> Use this file to discover all available pages before exploring further.
# Quickstart
> Run your first QitOS minimal coding agent in under 2 minutes, then inspect it with qita.
This guide takes you from a fresh environment to a model-backed minimal coding agent and a live trace view in under 2 minutes.
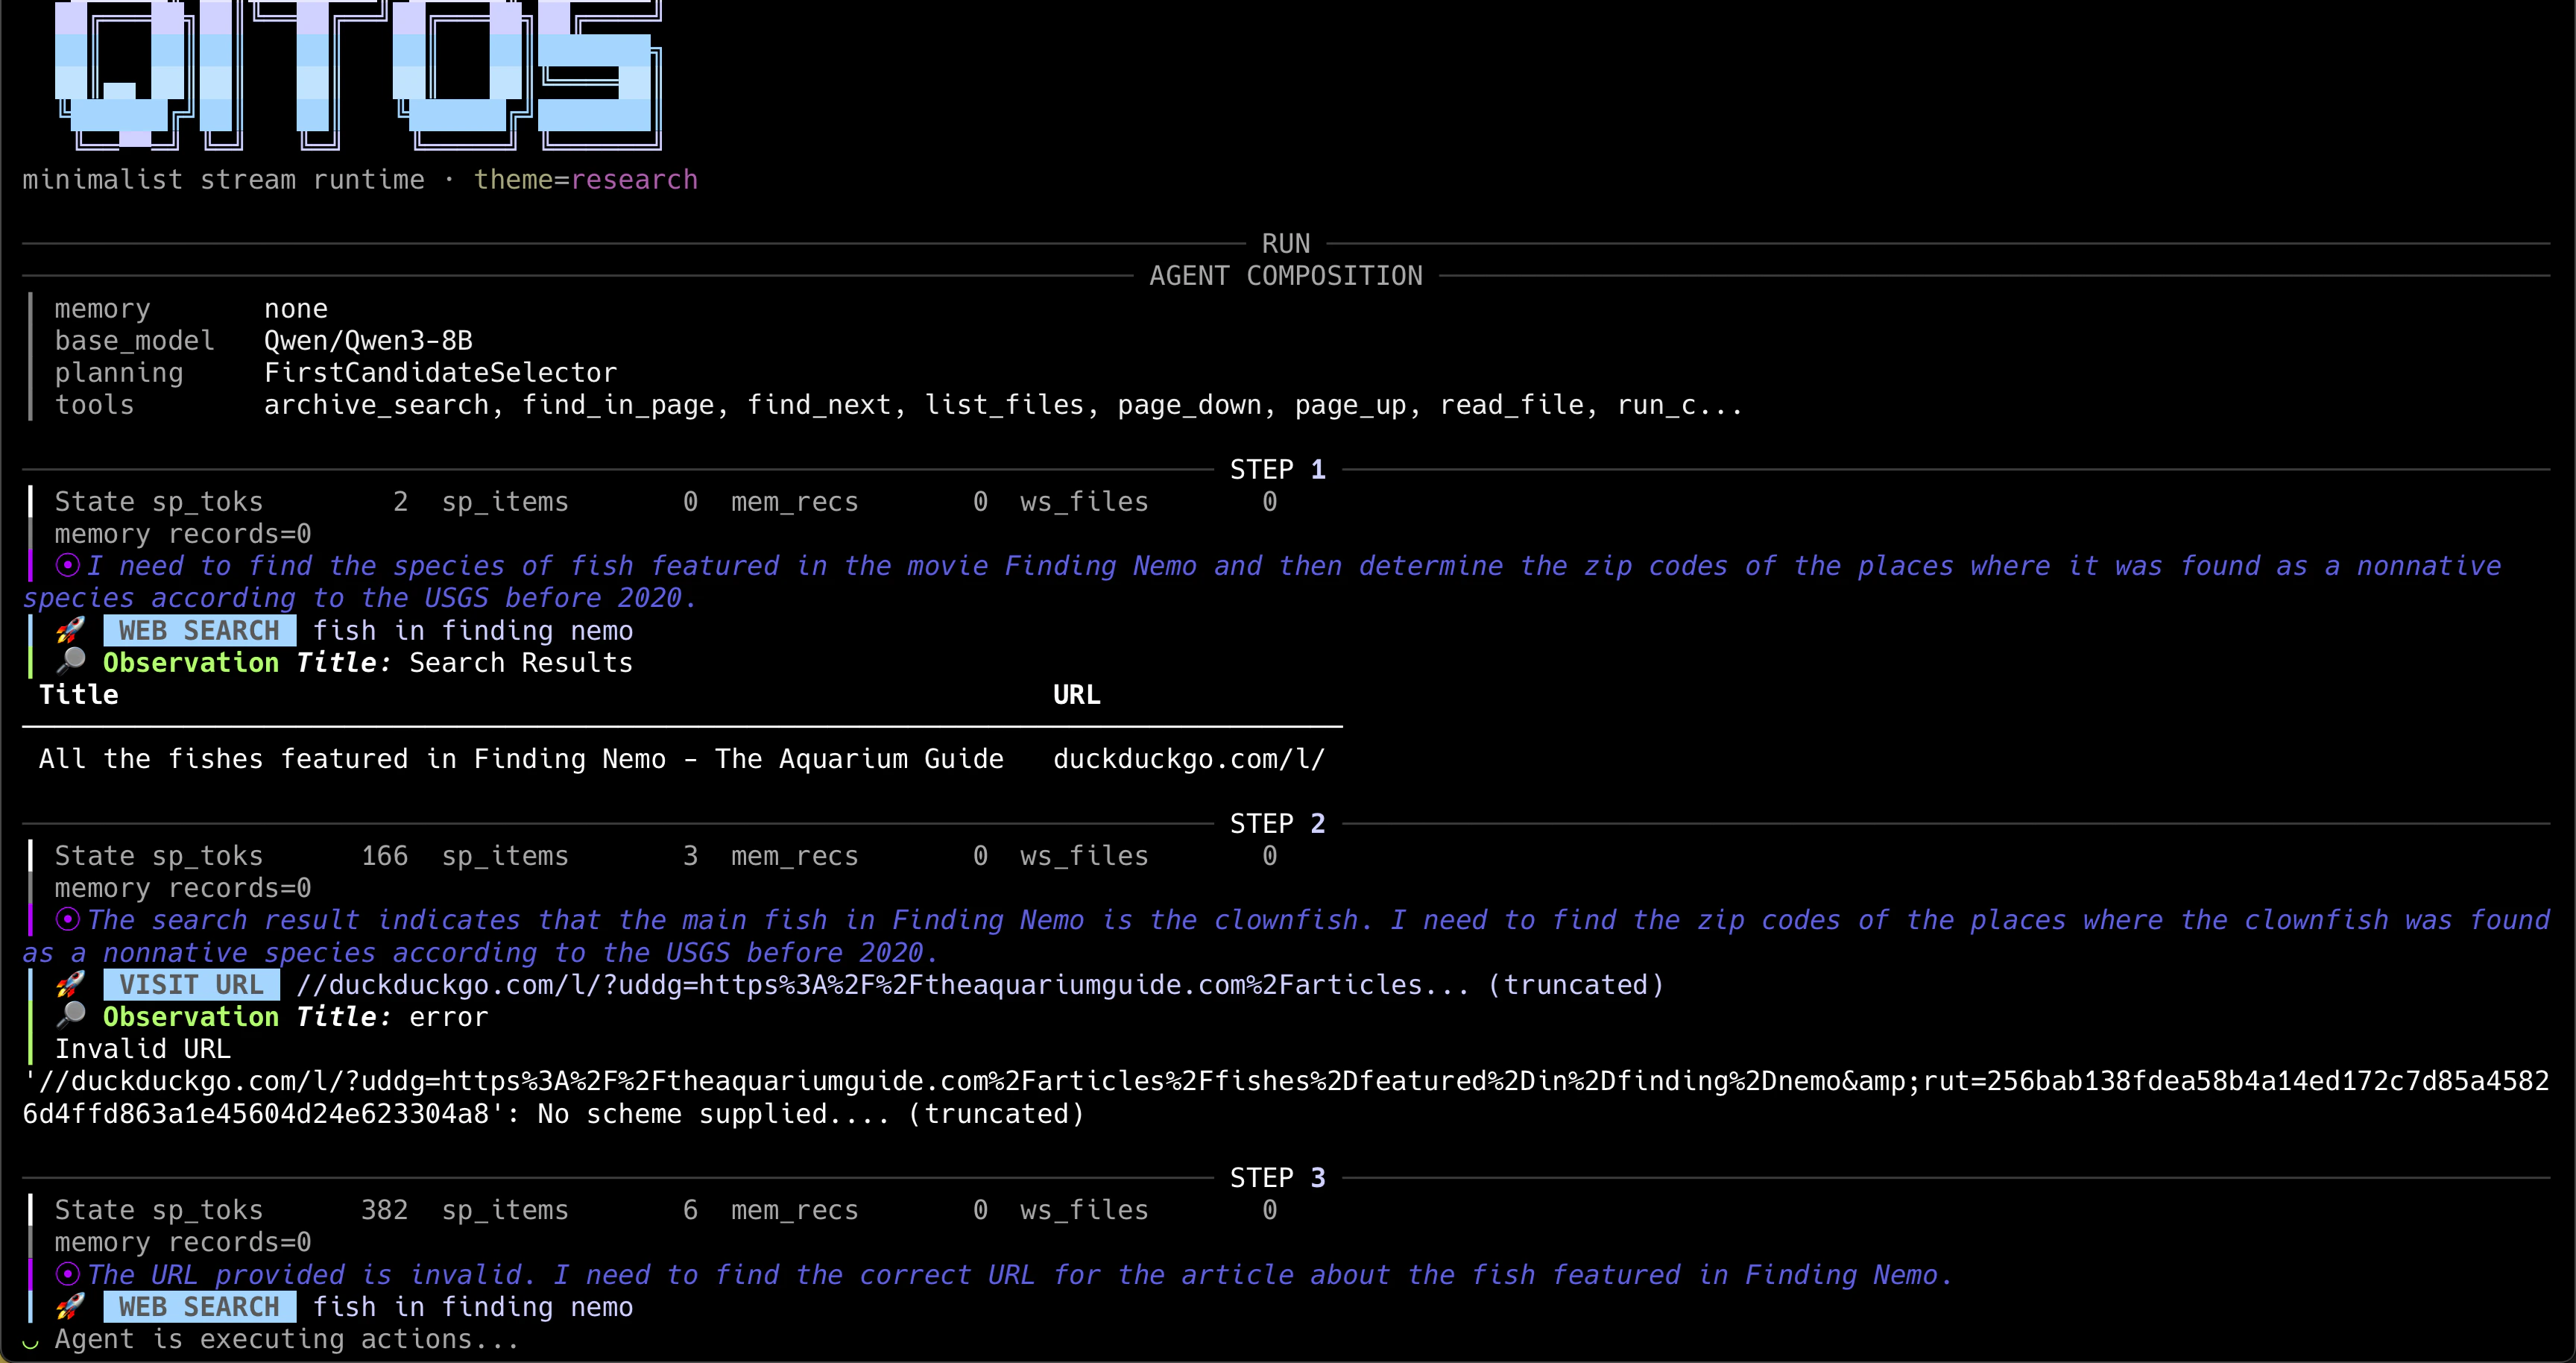
Here is what the runtime looks like when you watch it work:
 Need a provider first? Read [Prerequisites](/prerequisites). It explains how to get an OpenAI-compatible API key and validate your endpoint before running QitOS.
## Prerequisites
* Python 3.10 or later
* `pip`
* An OpenAI-compatible API key
## Steps
```bash theme={null}
pip install "qitos[models]"
```
```bash theme={null}
export OPENAI_API_KEY="sk-..."
export OPENAI_BASE_URL="https://api.siliconflow.cn/v1/"
export QITOS_MODEL="Qwen/Qwen3-8B"
```
Any OpenAI-compatible endpoint works. Point `OPENAI_BASE_URL` at your provider if you're not using OpenAI directly.
```bash theme={null}
qit demo minimal
```
This demo creates a small workspace with a buggy file, configures a real model, asks a minimal coding agent to fix the bug, runs verification, and writes a qita-ready trace. You should see output similar to:
```
model_name: Qwen/Qwen3-8B
workspace: .../playground/minimal_coding_agent
target_file: buggy_module.py
trace_run: .../runs/qitos_minimal_coding_
final_result: Patch applied and verification passed.
stop_reason: final
next_step: qita board --logdir runs
```
```bash theme={null}
qita board --logdir runs
```
Open [http://127.0.0.1:8765](http://127.0.0.1:8765) in your browser. The board shows every run in your log directory with step counts, stop reasons, and final results. Click **view** on any run to inspect its step-by-step trajectory (the temporal sequence of prompts, decisions, tool calls, and observations), or **replay** to play it back.
The packaged demo and [`examples/quickstart/minimal_agent.py`](https://github.com/Qitor/qitos/blob/main/examples/quickstart/minimal_agent.py) follow the same minimal coding-agent path. Start from the example file when you want to read or customize the code directly.
## What's next
You've run a minimal coding agent and inspected its trace. Here's where to go from here:
A walkthrough of the minimal coding-agent shape: state, model, tools, run, and qita
Learn agent design step by step through ReAct, PlanAct, Claude Code-style, and security audit lessons
Everything qita can do: board, replay, and export
Run GAIA, Tau-Bench, and CyBench on the QitOS kernel
Need a provider first? Read [Prerequisites](/prerequisites). It explains how to get an OpenAI-compatible API key and validate your endpoint before running QitOS.
## Prerequisites
* Python 3.10 or later
* `pip`
* An OpenAI-compatible API key
## Steps
```bash theme={null}
pip install "qitos[models]"
```
```bash theme={null}
export OPENAI_API_KEY="sk-..."
export OPENAI_BASE_URL="https://api.siliconflow.cn/v1/"
export QITOS_MODEL="Qwen/Qwen3-8B"
```
Any OpenAI-compatible endpoint works. Point `OPENAI_BASE_URL` at your provider if you're not using OpenAI directly.
```bash theme={null}
qit demo minimal
```
This demo creates a small workspace with a buggy file, configures a real model, asks a minimal coding agent to fix the bug, runs verification, and writes a qita-ready trace. You should see output similar to:
```
model_name: Qwen/Qwen3-8B
workspace: .../playground/minimal_coding_agent
target_file: buggy_module.py
trace_run: .../runs/qitos_minimal_coding_
final_result: Patch applied and verification passed.
stop_reason: final
next_step: qita board --logdir runs
```
```bash theme={null}
qita board --logdir runs
```
Open [http://127.0.0.1:8765](http://127.0.0.1:8765) in your browser. The board shows every run in your log directory with step counts, stop reasons, and final results. Click **view** on any run to inspect its step-by-step trajectory (the temporal sequence of prompts, decisions, tool calls, and observations), or **replay** to play it back.
The packaged demo and [`examples/quickstart/minimal_agent.py`](https://github.com/Qitor/qitos/blob/main/examples/quickstart/minimal_agent.py) follow the same minimal coding-agent path. Start from the example file when you want to read or customize the code directly.
## What's next
You've run a minimal coding agent and inspected its trace. Here's where to go from here:
A walkthrough of the minimal coding-agent shape: state, model, tools, run, and qita
Learn agent design step by step through ReAct, PlanAct, Claude Code-style, and security audit lessons
Everything qita can do: board, replay, and export
Run GAIA, Tau-Bench, and CyBench on the QitOS kernel